|
The Story So Far
Sept 18 2004: Got off work this morning and headed right for Home Depot. Picked up the paint and other stuff to start the project. I'm getting a bit ahead of myself here so let me back it up a bit. First off, let me thank my wife for going along with another of my crazy ass projects. I have been planning this out in my head for about 2 months now. When I hit her with it, she didn't really think much about it. Well now the paint is in the house and she's getting nervous. Not showing it much, but I can tell. I'm going for a yellow with black drives and trim look. I'm starting with a plain V8 8 bay tower my buddy got me. I have already test disassembled it over a morning coffee. So far the only trouble I can foresee is taking the bezels off the CD drives. Always the optimist. My total plan is to paint the entire case and monitor. I want to add a window in the top and some of those cool steel rack handles. After that I want to change the boring green and orange HDD and Power LED's for ultra blue ones. Radio Shack is your friend. After that I want to install an 80mm blue LED fan in the window. If I get to feeling real freakish, I'm gonna install a car cig lighter in one of the drive bay covers. You've never seen that before and probably won't again. Done. I figure it will take me about a month or so. Time will tell. Sept 19 2004: It's 3:00am and I'm starting project "Sun Box". Yeah I know, but it's the best name I could think of at a moments notice. First, Photos and disassembly. Got all the panels off and sanded and cleaned. Getting them off was no problem, I had done it before just to test. Actually, I really didn't have any problems with this project at all. Not until I put the first layer of clear coat on. At that point, the surface started to take on a slight crackle finish. This scared the shit out of me and really pissed me off. As it turned out, after the clear coat dried it smoothed out and looked great. The paint gets harder and harder as it dries. I already have a small scratch on it, so I'm hoping that it will harden up. I keep the CPU on the floor, so one good kick could rip a chunk of pain right off. I keep it on the floor so I can kick it when it gives me attitude. So, in two days and two nights, I did the following. |
Remove, sand, wash, dry and mask all panels
Apply primer coat one, let dry.
Apply primer coat two, let dry.
Apply paint coat one, bake in sun for one day.
Apply paint coat two, let dry.
Remove drive bezels, remove all buttons and light filters.
Sand, wash, dry drive bezels.
Apply primer coat one to bezels, let dry.
Apply primer coat two to bezels, let dry.
Apply paint coat one, bake in sun for one day.
Clear coat main panels, Let dry. (Oh Fuck Me!!)
Wash and prime drive buttons.
Apply paint coat two to drive bezels, let dry.
Clear coat drive bezels, let dry.
Install rack handles on top panel.
Remove masking from panels.
Begin reassembly.
Install drive buttons and light filters.
Install drive bezels.
Install LED and switch leads to motherboard.
Replace all main panels.
Replace drive covers.
Test system.
Take photos all through the project.
Build this web site.
This was a lot easier then I thought it would be. If you are thinking about it but putting it off because you think you can't handle it, do it. At least it kept me busy for the weekend.
I still have to do the window, the fan and the cig lighter. LOL. That will be next weekend or so.
Just a last little piece of info. The nervous wife changed her mind P.D.Q when she saw the finished product. Now she's helping me pick out fan colour's and fan grills. She's all Gung-Ho to get it lit up and looking funky.
Okay, got the fan and blue light tubes. Cut out the holes for the fan and window. Installed fan, biohazard fan grill and light tubes. I had to do some re-wiring to get the tubes working. Not enough connectors to run them. Wired them in sequence off one connector.
Shit I'm learning a lot from this. The next one I do is gonna kick serious ass.
Picked up a dual fan HDD cooler and the ice blue LED's to replace the HD and PWR lights. After some investigation and forum crashing, I've been told I don't have to worry too much about the LED voltage. Just wire them up to the original connectors and they should work fine. I hope, I hope, I hope.
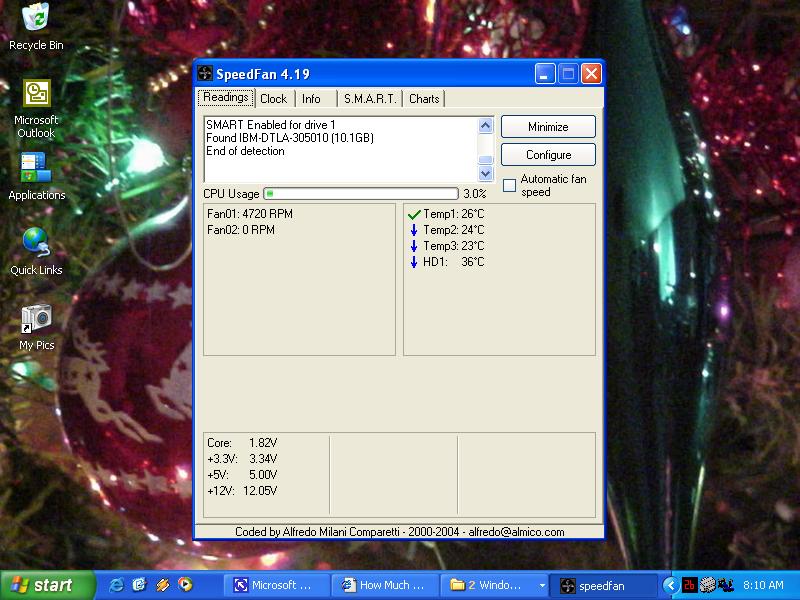
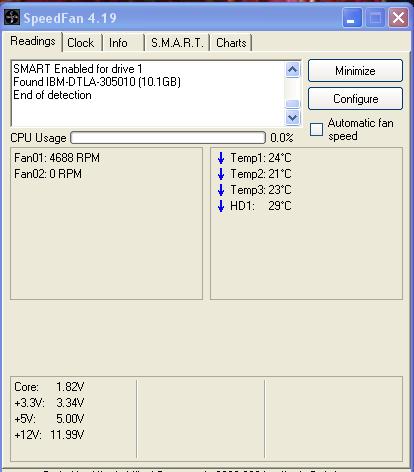
My HD is currently running at 37°c, I would like to get it down two 32ºc. I'm hoping the cooler with achieve that.