| Okay, here
goes nothing. Gonna build my own Baybus. Stick around, this should be
entertaining. I've done some minor self taught project wiring in the
past, but nothing like this. I'm going to be getting into resistors,
Ohms, switches and LED's.
Now...to be totally honest, I didn't come up with this all by myself. There are all kinds of plans and tutorials available to help guide your way. The trick is to find one that fits your application. Finding one that matches your level of expertise is also important. Don't want to get 3/4 of the way through it only to find out that next step is beyond you. Alright, enough of the chatter, lets get to some pic's.
|
|
|
|
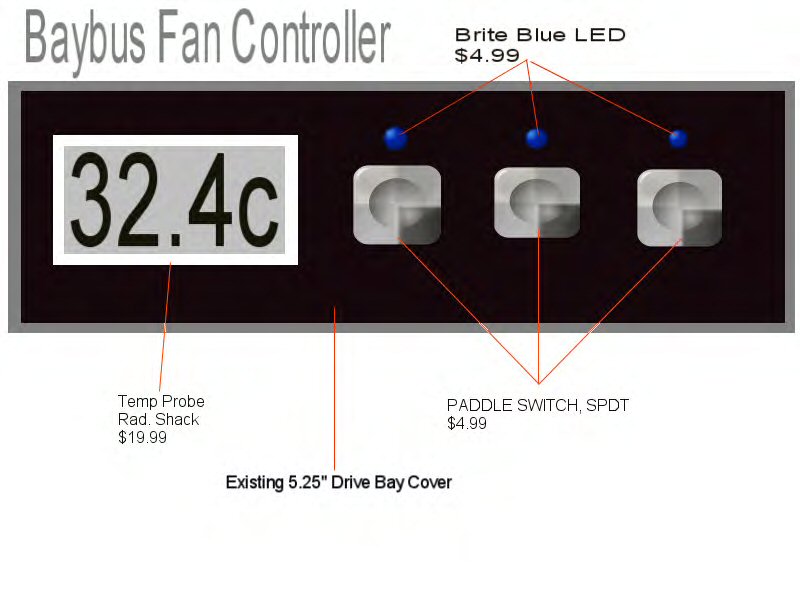
So...this is the plan in my head. The temperature gauge comes from a cheap Radio Shack digital thermometer that I will disassemble. The probe from this can be placed anywhere inside the case to give me the temp on anything I want. HDD, CPU, Case, but only one item at a time. |
|
|
|
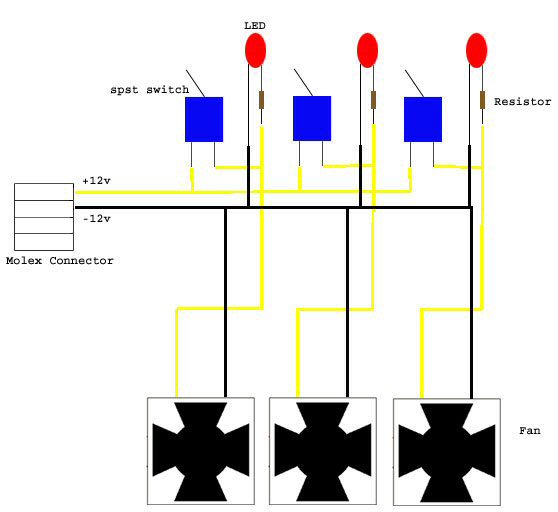
This is a wiring diagram I got off the Net. Works for me I just hope I can make it work. |
|
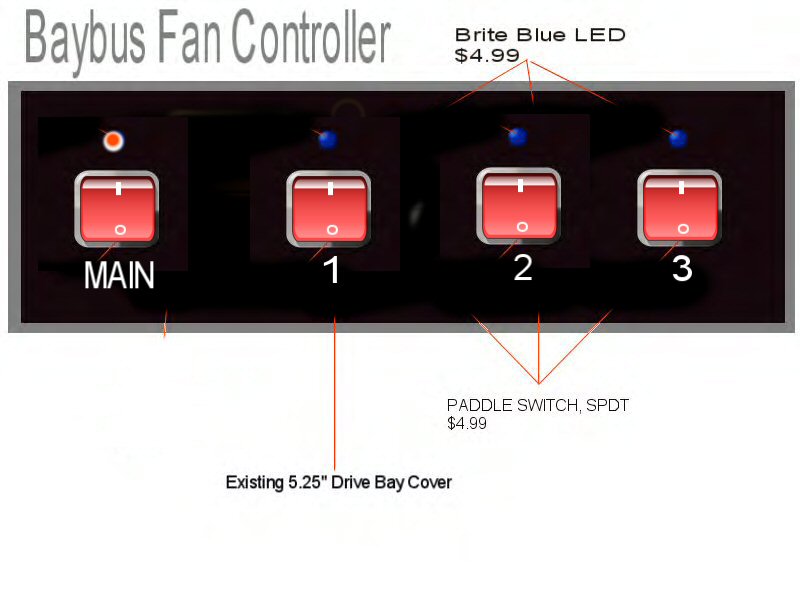
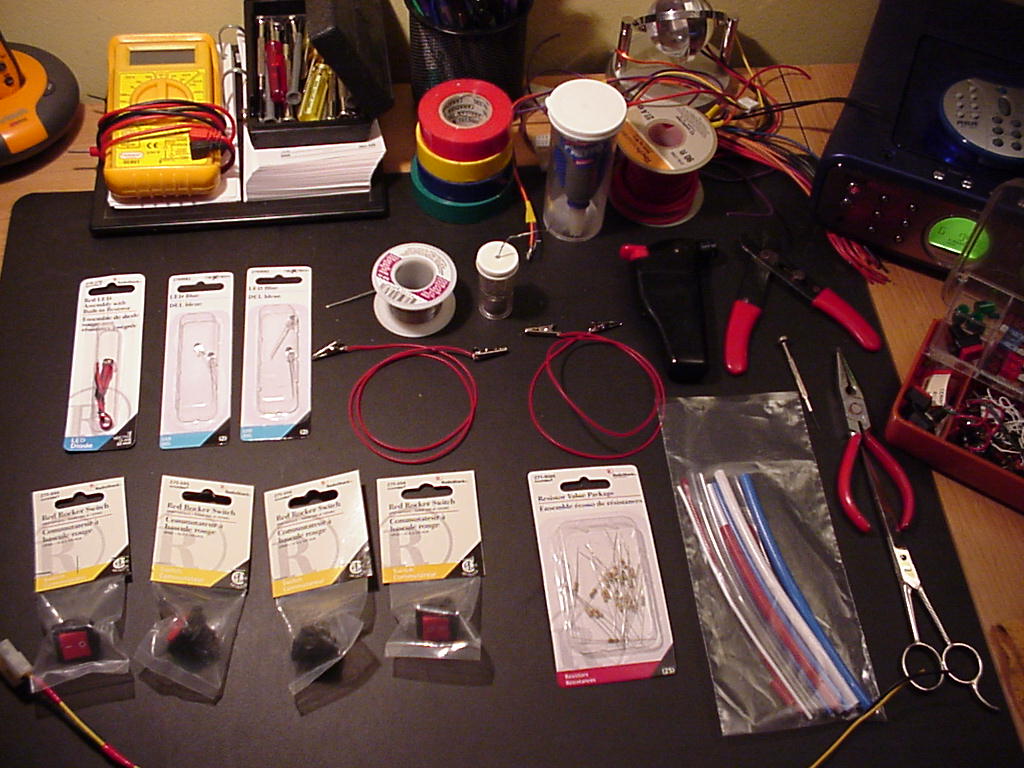
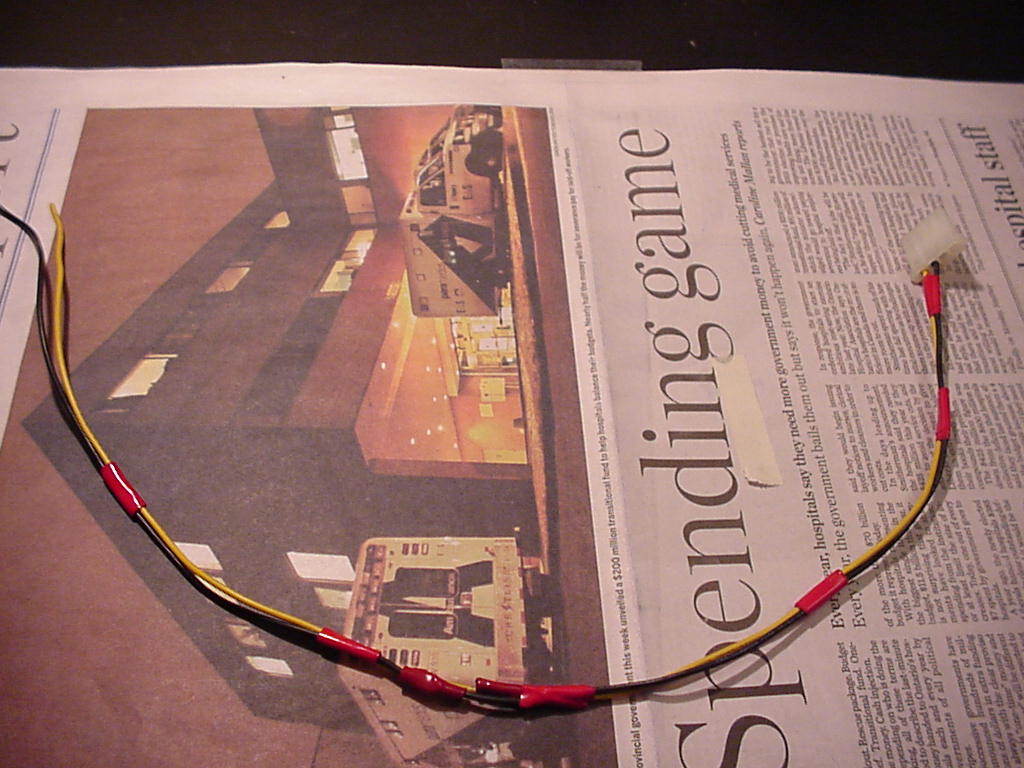
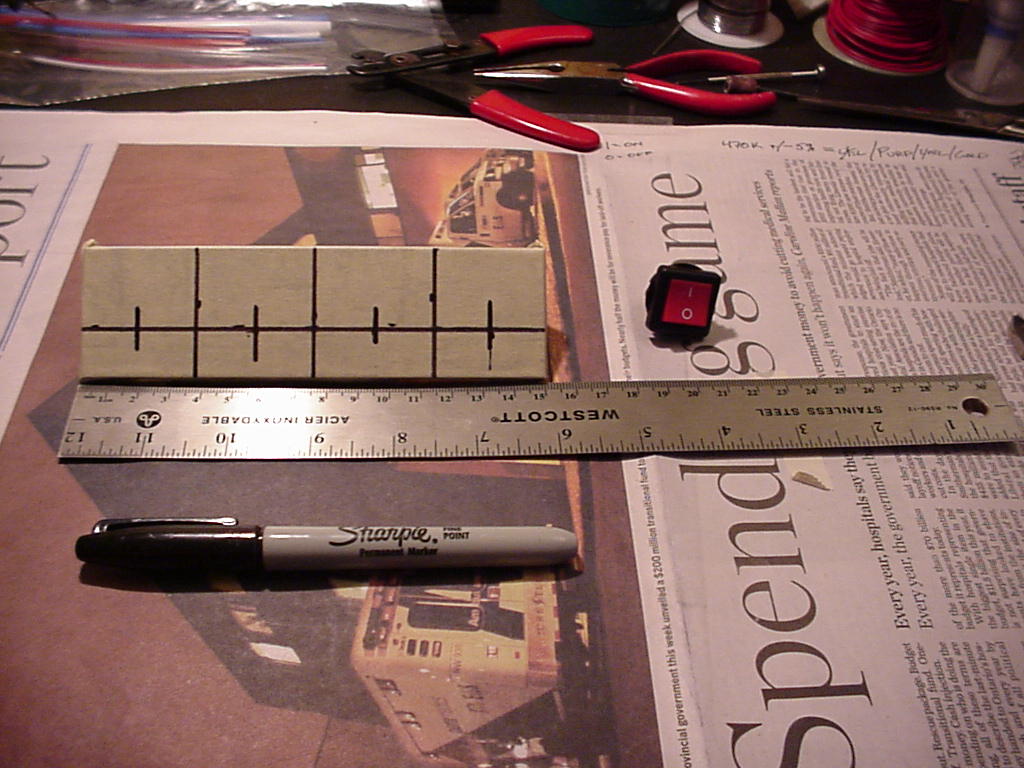
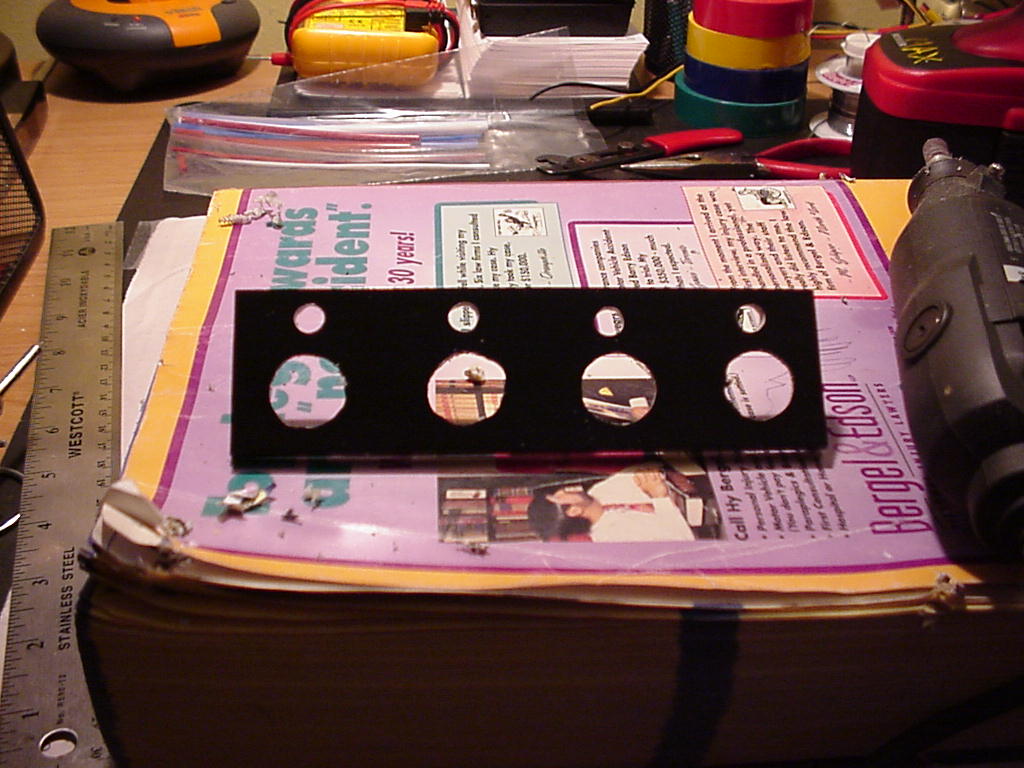
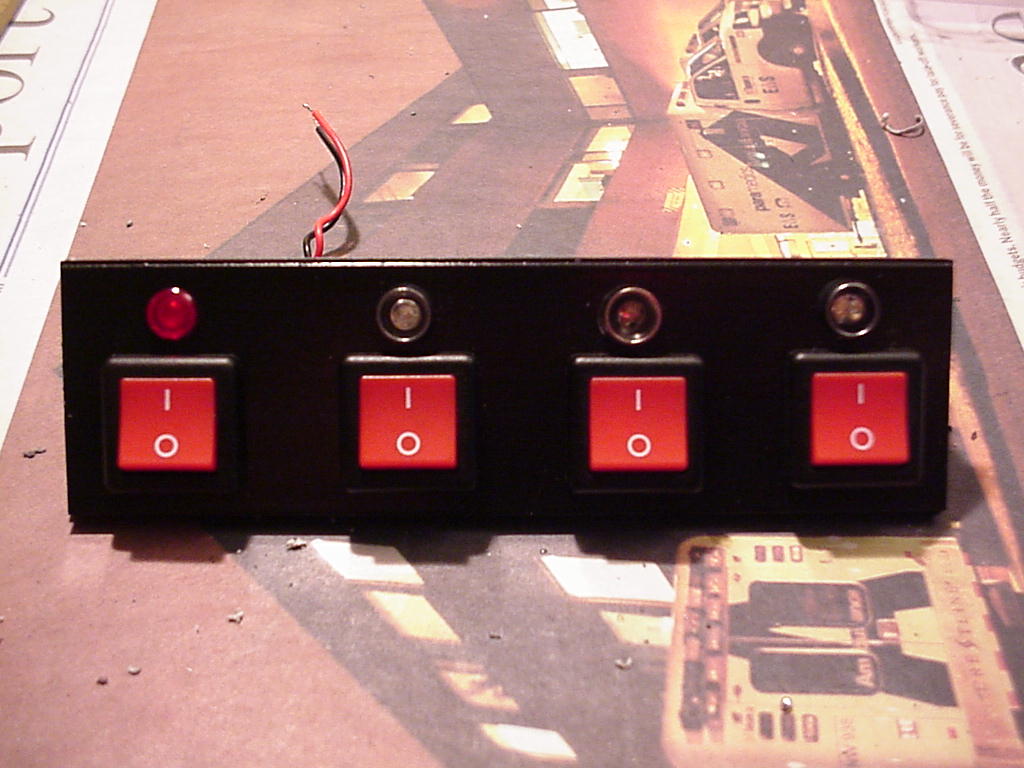
Okay, so here it is Jan/18/2005. It's the second day of my vacation and I'm dying with the Flu. WooHoo!!!!! Anyway, I went to Rad Shack to pick up my supplies and guess what, they were out of almost everything I need. I couldn't find the temp LCD and they did not have the switches I wanted. Oh well. I got other switches for the same price. So in all I'm saving about $10.00 off my original estimate. I have posted a pic below of the updated plan. |
|
|